Adding tables has been improved since the initial release of Sirera Help 2019 and now provides many formatting options.
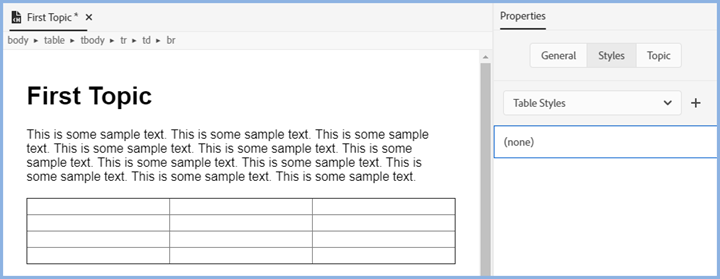
In the screenshot below, a table has been added to a topic using the Insert Table icon in the standard toolbar but the CSS used for the topic does not have a table defined.
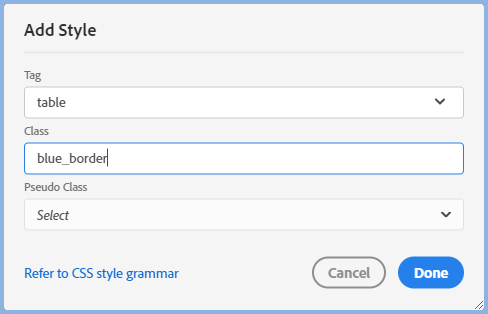
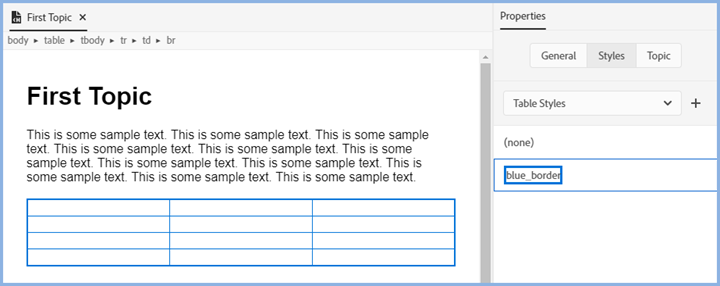
Click the + icon to create a table style.
Select table as the tag and enter your name for the table class to be created, in this example it is blue_border.
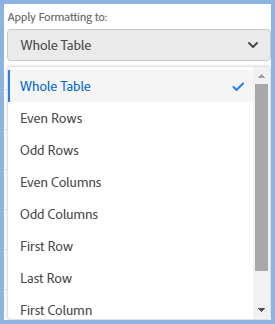
The default Properties will then be displayed.

It is very important to note what has been selected in the Apply Formatting To dropdown and Whole Table is often misunderstood.
Generally anything you set here with Whole Table selected will apply to all the cells in the table with the exception of the border. Here Whole Table means the outer borders of the table, not the individual cells.
If you change the dropdown to one of the other options shown, then the formatting will apply only to whatever you have selected.
You will need to experiment a little to get what you want but you will soon find it is simpler than it may appear.
 Try setting up fonts and shading with Whole Table selected and then select from the dropdown shown above any exceptions. Maybe you want all cells to have one color as the background but the First Row to have another color. Set the first color with Whole Table selected, then select First Row and select the second color.
Easy when you know how!
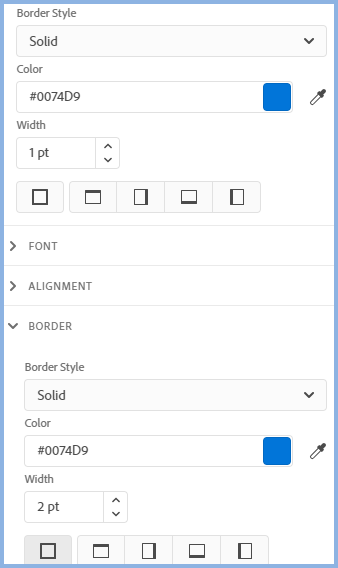
Let's say this table is to have a 1pt wide border around all cells and a 2pt border the same color around the outer edges.
In the Cell settings blue has been defined to apply to all cells and the same color has been set in the Border Settings but with a width of 2 pts.
Here's that table back in the topic.
No matter how well you design your table in the editor, there will often be occasions when a particular column, row or cell need something different.
You can apply an overriding style from Properties > Styles to individual cells. It will be possible to apply an overriding style to rows and/or columns in a later update.
Sirera Help 2019 can be set up to use the TH style to give proper table headers. This is important for accessibility compliance.